

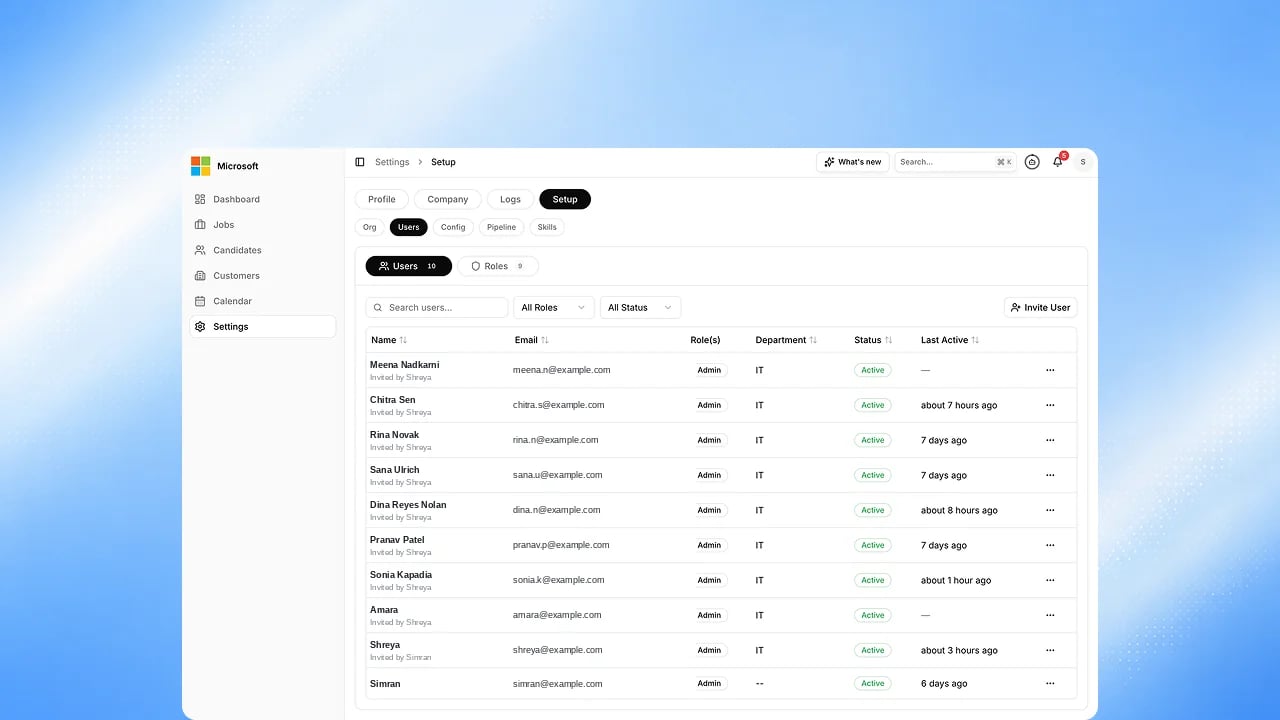
Purpose
Invite everyone who needs access. Two settings decide their access: the role sets what they can do, and data visibility sets which records they can see.Steps
1
Open Users
Go to Settings → Setup → Governance and find the Users section.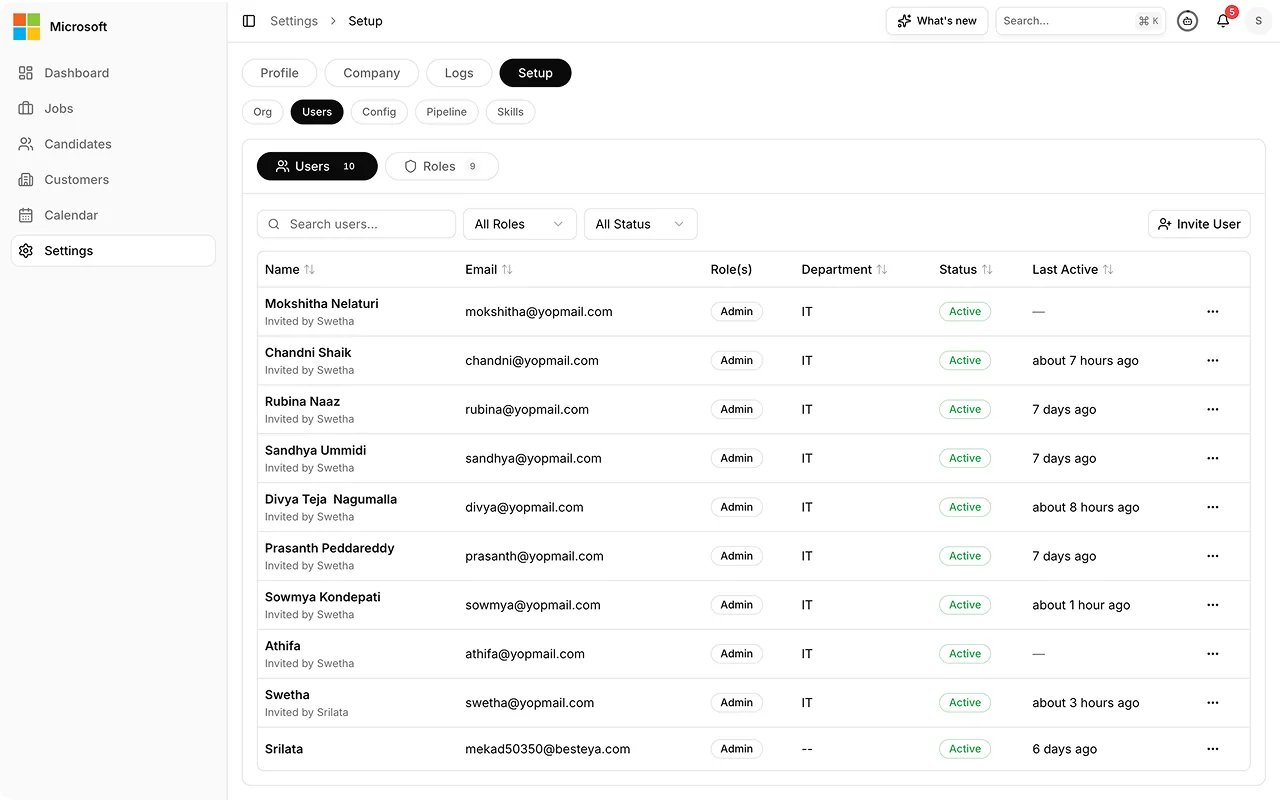
2
Invite each person
Add their full name, work email, role, and department, choose their data
visibility, then send the invite.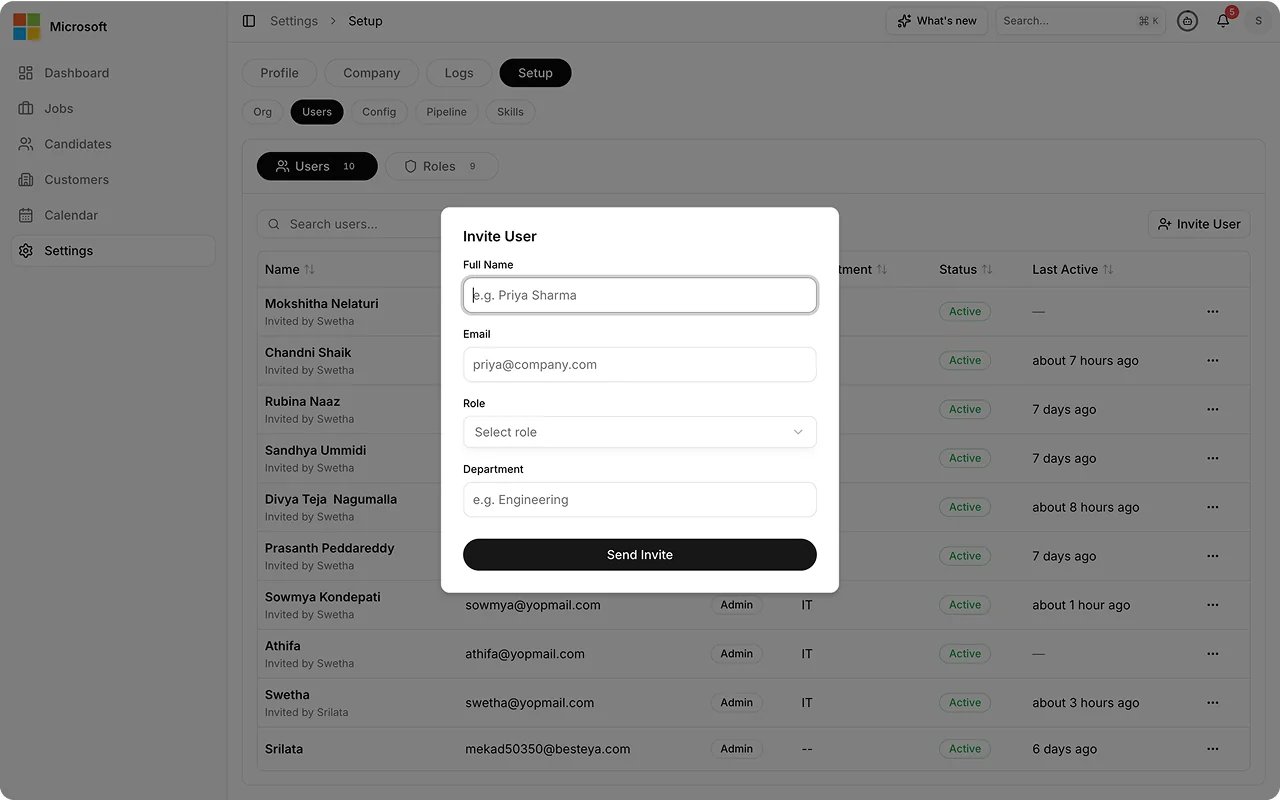
3
Set data visibility
Data visibility is the second access setting, alongside the role. Choose
All company data (every job and candidate), Their department only
(their department’s jobs and candidates, plus anything they created or
are assigned to), or Only their own records (jobs they created or are
assigned to, and those candidates). Change it later from the person’s row
with Change data visibility. Widening someone’s visibility asks you to
confirm first. Department visibility needs a department on the person’s
profile.
4
Search and filter the list
Search by name or email, or filter by role and status (Active, Invited,
Deactivated) to find anyone quickly.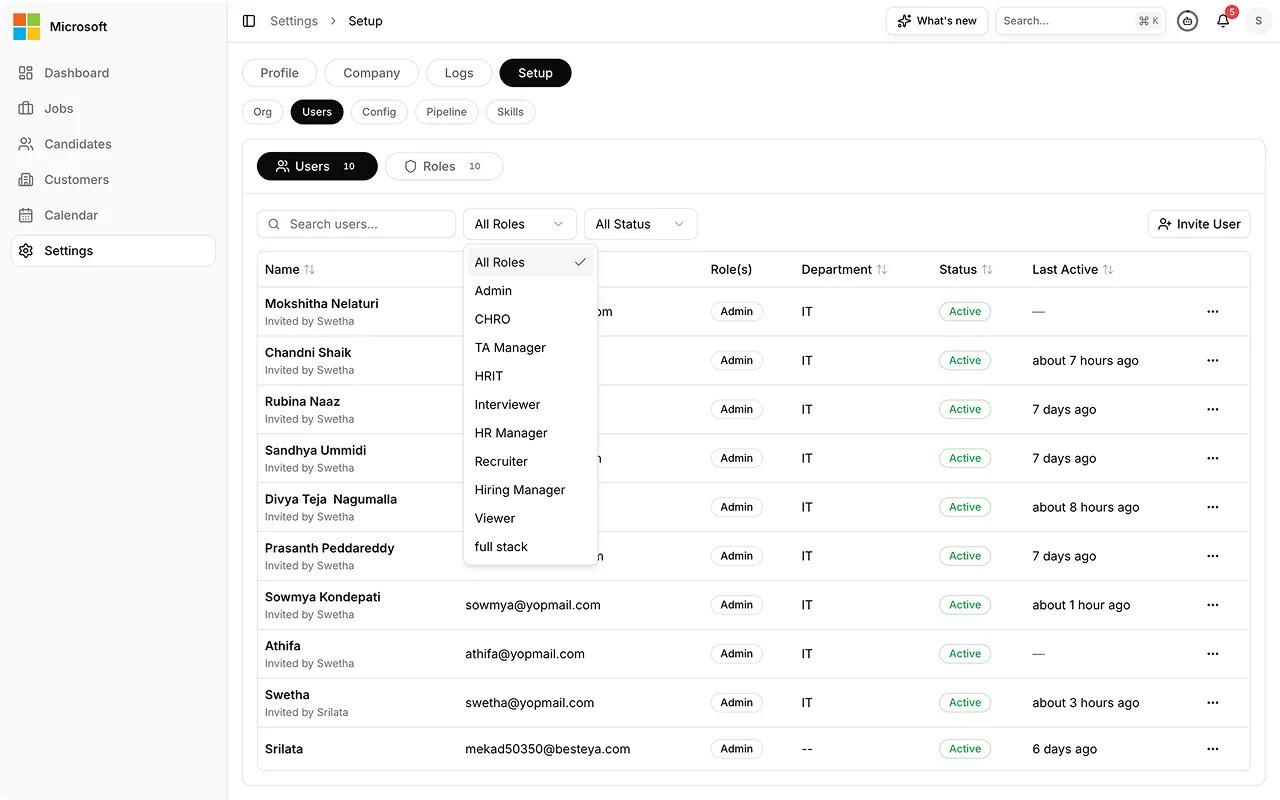
5
Manage status
Deactivate or reactivate an active user, or resend or cancel a pending
invite, from that person’s row.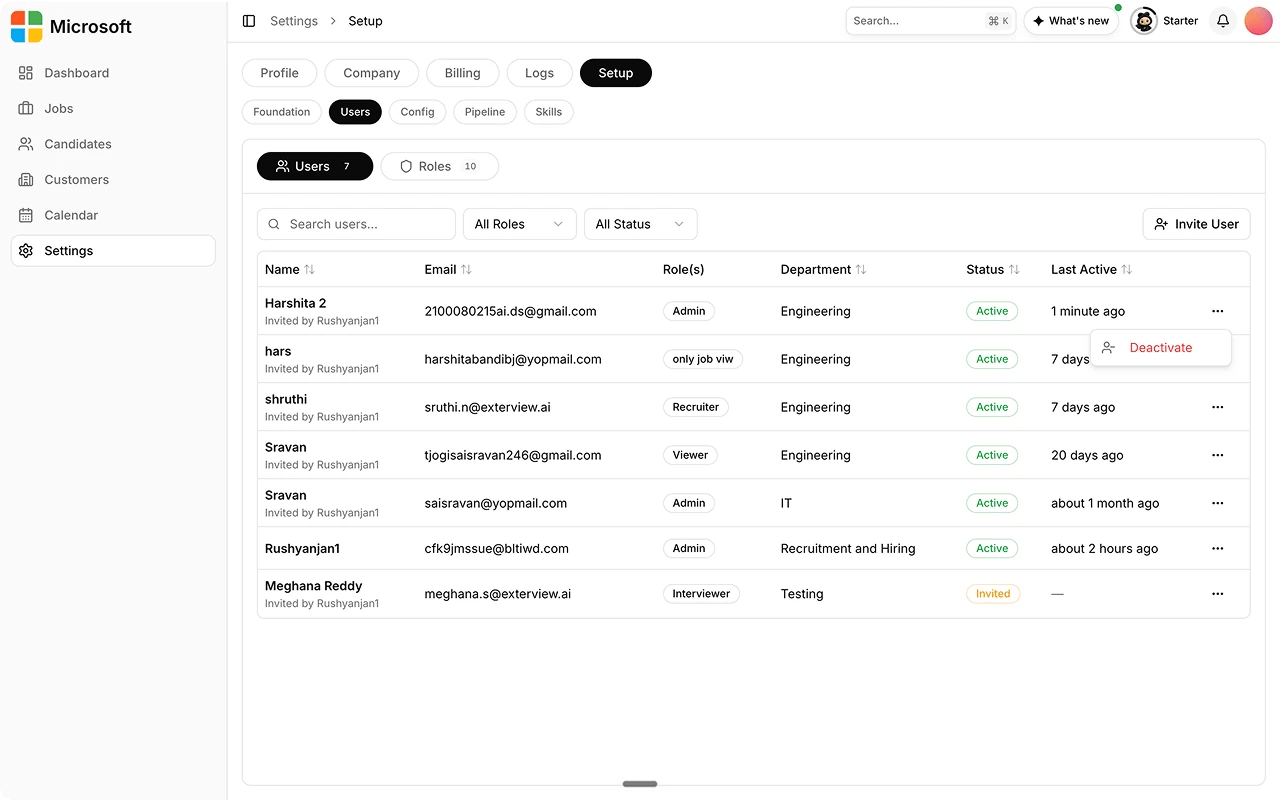
Related
- Assign Roles and Access. Set what each person can do.
- Manage Users and Roles. Day-to-day user management after setup.